Print a photo
You’ve taken a lot of photos, and they’re in your image editing software’s catalog on your computer. You’d like to print some of them for various reasons :
- Create a photo album
- Hold a photo exhibition
- Decorate your home
Also from this moment different questions arise for you :
- Which file type should I choose for printing?
- Which photo format should I choose?
- Which print size should I choose?
- What is the definition of a photo?
- What is the resolution of a photo?
- What information should I provide to the lab for a quality print?
So we’re going to take a look at some rules you need to know to print a photo and get a result that meets your expectations.
File type for Print a photo
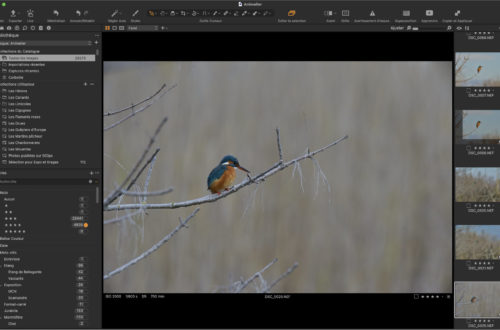
In your photo library (Lightroom, Capture One Pro, etc.), your files are likely in Raw format. This file format allows you to process and optimize your photos without compromising file quality. However, since this format is not a universal file format, it must be converted to JPEG or TIFF before final use by a lab.
From there, you will export your photo in a format usable by the lab, which will then print and print your photograph.
For a photo print, the preferred format is TIFF. This allows for a high-quality, lossless image, especially for large prints. However, TIFF generates very large files. You will therefore need to reduce the file size by applying LZW compression when saving. This way, if the lab needs to make some corrections, these will not affect the quality of your file. However, it can be difficult or even impossible to download this type of file from some labs’ websites.
It’s also possible to use JPEG. JPEG is the most commonly used format. This format also produces smaller file sizes. However, if used with too high a compression ratio, quality losses will be noticeable. If you’re certain no correction is necessary, you can use this format.
Tip: However, always save at maximum quality (JPEG 100%) to minimize loss of detail.
– See my blog post on different image formats.
File format for Print a photo
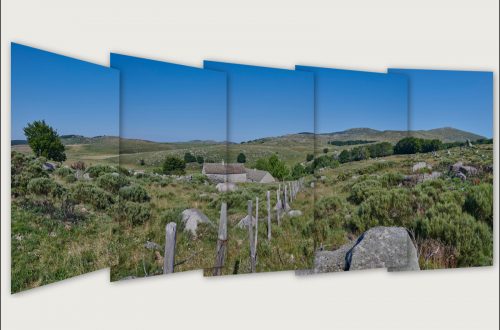
The format of a photo defines the ratio between its width and its height. The 3/2 format is the standard of photography. (3/2 format ratio 1.5). Digital SLRs and hybrids have inherited this 24×36 format from the film era (36/24 ratio = 1.5). The APS-C has also taken this format but with a smaller size 16×24 DX format at Nikon (24/16 ratio = 1,5).
It gives a natural balance to the composition of the image. It is suitable for many subjects, ideal for standard prints, and it is suitable for both landscape and portrait mode.
As a general rule, you will use and respect the original format of your camera (usually 3/2 format). However, in some cases you may need to use a different format (square format for example). In this case, you will crop your digital file. As a result, this will have an impact on the definition of your digital file and the resolution of your print.
– See my blog post on sensors in digital photography.
Print size to choose
The size (and also the resolution) will determine the distance from which you will observe your photograph.
So for an observation:
- Up close, such as a photo book or album: 10 x 15 cm or A4 format. A high resolution of 300 dpi is required; at this distance, the human eye perceives very fine details. At a lower resolution, the photo will appear poorly defined.
- At an intermediate distance of 50 cm to 1 m: 40 x 60 cm or A2 format. A medium resolution between 200 and 250 dpi will be sufficient. At this distance, the human eye is less able to distinguish details.
- Over 1.5 m: Large formats 100 x 150 cm, 120 x 180 cm. A resolution between 150 and 200 dpi will be adequate.
In practice, the greater the viewing distance, the more desirable it will be to have a larger print, but with a lower dpi resolution. If you view a print from a distance of 20 cm, the human eye will be able to distinguish over 400 dpi. At a distance of 60 cm from the print, the human eye will only distinguish 150 dpi. Indeed, the human eye perceives less and less fine details as the viewing distance increases. Consequently, a lower resolution may be sufficient without compromising visual quality.
Please note that the terms Resolution and Definition are often confused in digital image language.
Definition of a photograph
The definition is the number of pixels in a digital image in width and height (the number of columns and number of rows). The pixel (abbreviation from English: picture element) is the basic element of an image or a screen, that is to say a point. All of these pixels are contained in a two-dimensional array (width and height) constituting the image.
We also talk about pixel size. Example: the Nikon Z9 sensor delivers files with a definition of 8256 x 5504 px (45 million px sensor) corresponding to an image of 8,256 pixels in width and 5,504 pixels in height.
If I decide to print with this type of file, regardless of the size of the print made, the definition of my digital file will always be the same, in this case 8,256 pixels in width. However, its Resolution will vary depending on the size of the print made.
Resolution of a photograph
The resolution of an image is the number of pixels contained in the image per unit length. These are the pixels that are printed on a photo print.
Knowing that my digital file has a fixed pixel definition, the larger my print, the lower the pixel density will be to occupy all the space of the print. My 8256 px in width will be much less dense on a 60 cm wide print than on a 30 cm print. This is where the notion of resolution of a photograph comes into play.
This resolution corresponds to the number of pixels per unit of measurement (the Anglo-Saxon inch), generally expressed in DPI (“dots per inch” in English, or PPI points per inch in French). The number of pixels to obtain an optimal resolution is considered to be 300 DPI.
1 inch = 2.54 cm, so for a 300 DPI file this means that it contains 300 print points per inch, or approximately 118 pixels per centimeter (300 divided by 2.54 cm = 118 px per centimeter).
After that you understand the phenomenon to take into consideration, that of the effect of the variation of the resolution of an image according to its print size.
How to calculate the resolution of a print ?
We take:
- The size in pixels of the digital file you want to print x 2.54 cm (1 inch)
- then divided by the size in cm of the desired print.
The definition of your device’s sensor, or the cropping of your digital files, therefore has a direct and significant impact on the resolution of your print.
So depending on the definition of your sensor, and the size of the prints envisaged, you will find in the table below the corresponding DPI definition.
| Définition Capteur | Larg. | haut. | Tirage 30 x 20 |
Tirage 45 x 30 |
Tirage 60 x 40 |
Tirage 90 x 60 |
Tirage 120 x 80 |
|---|
| 45 Mpx | 8256 | 5504 | 699 | 466 | 350 | 233 | 175 |
| 24 Mpx | 6048 | 4032 | 512 | 341 | 256 | 171 | 128 |
| 20 Mpx | 5568 | 3712 | 471 | 314 | 236 | 157 | 118 |
| 16 Mpx | 4928 | 3280 | 417 | 278 | 209 | 139 | 104 |
To check your files, you can download the calculator in Excel format : Calculator DPI
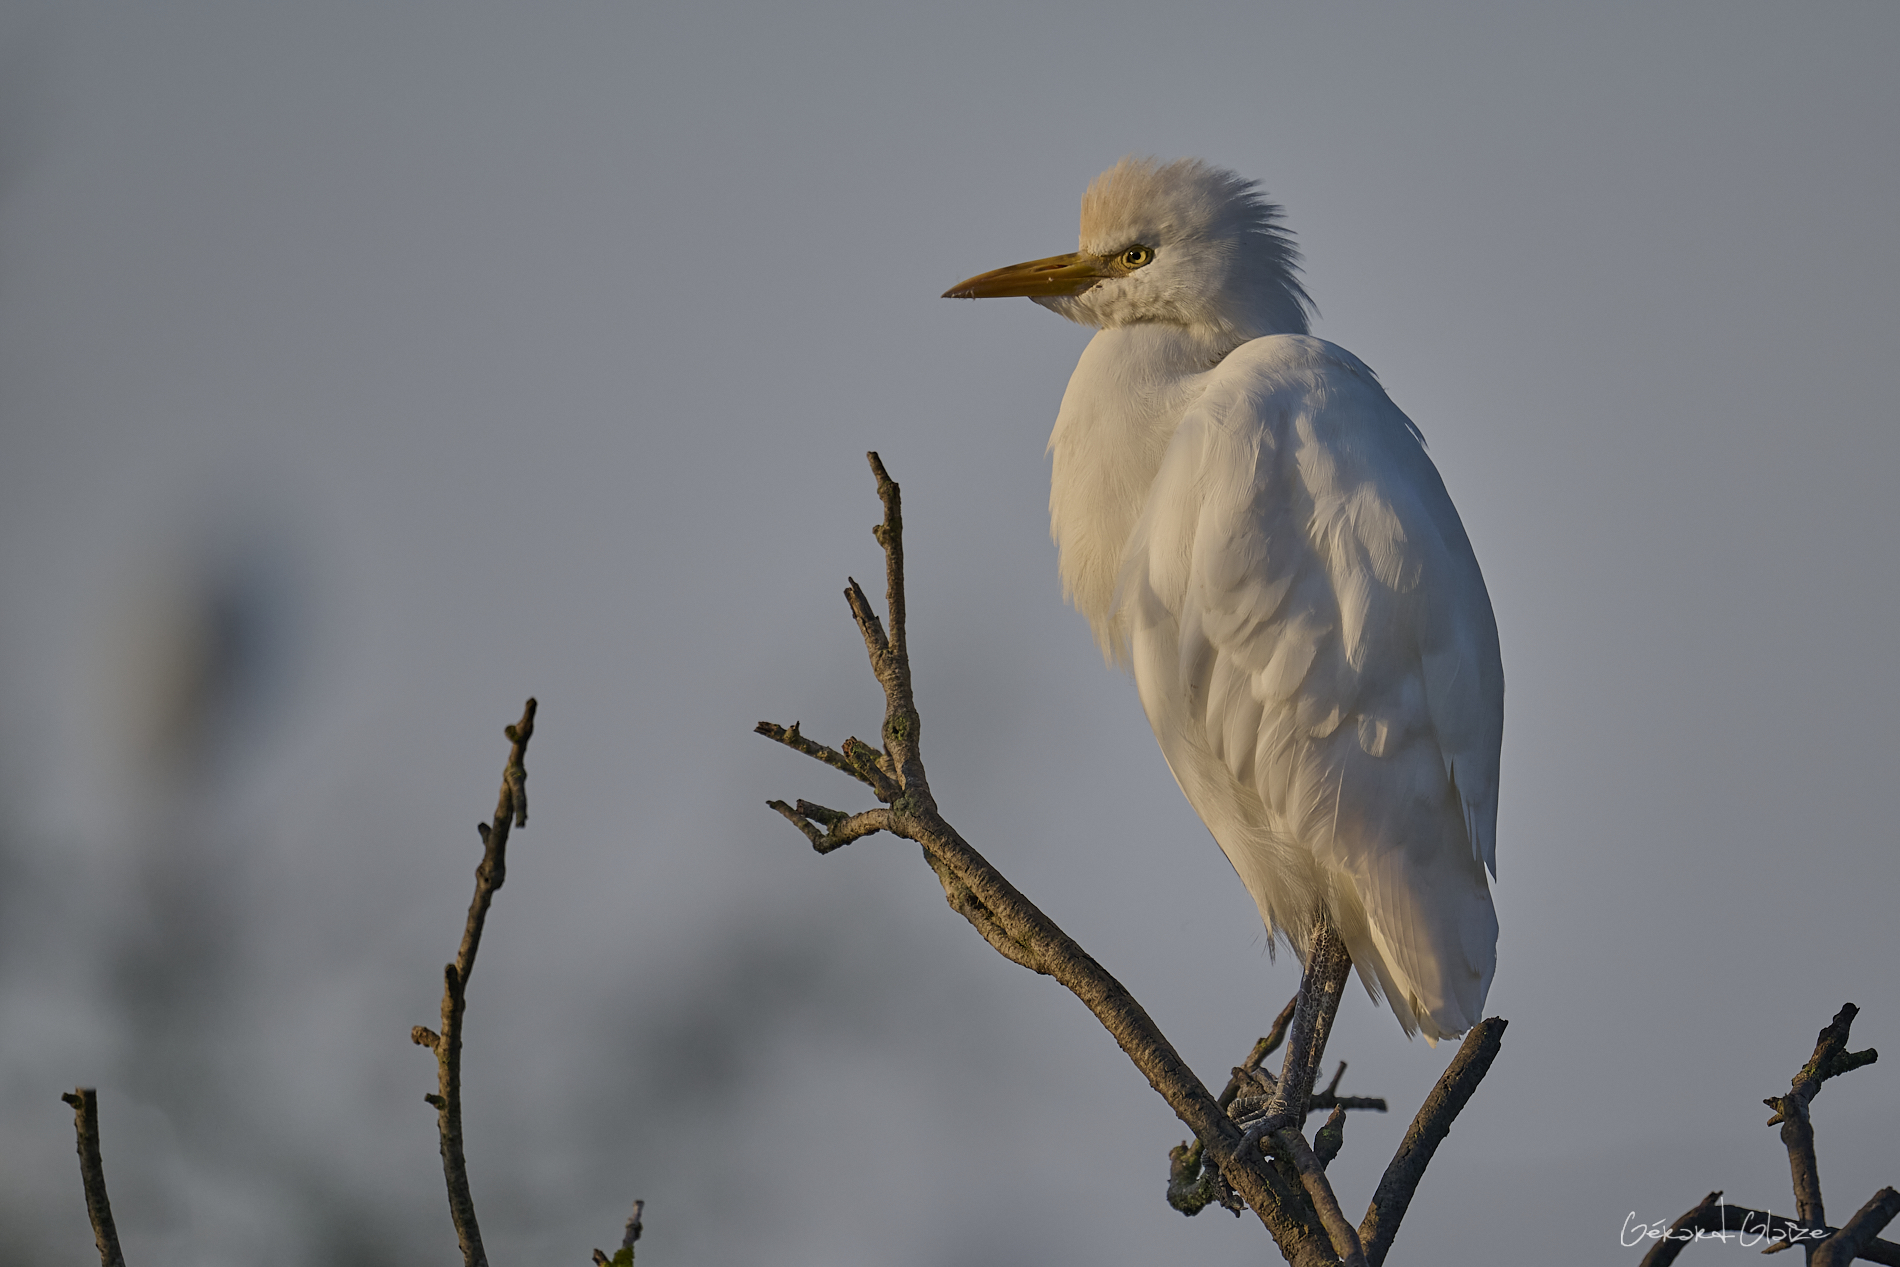
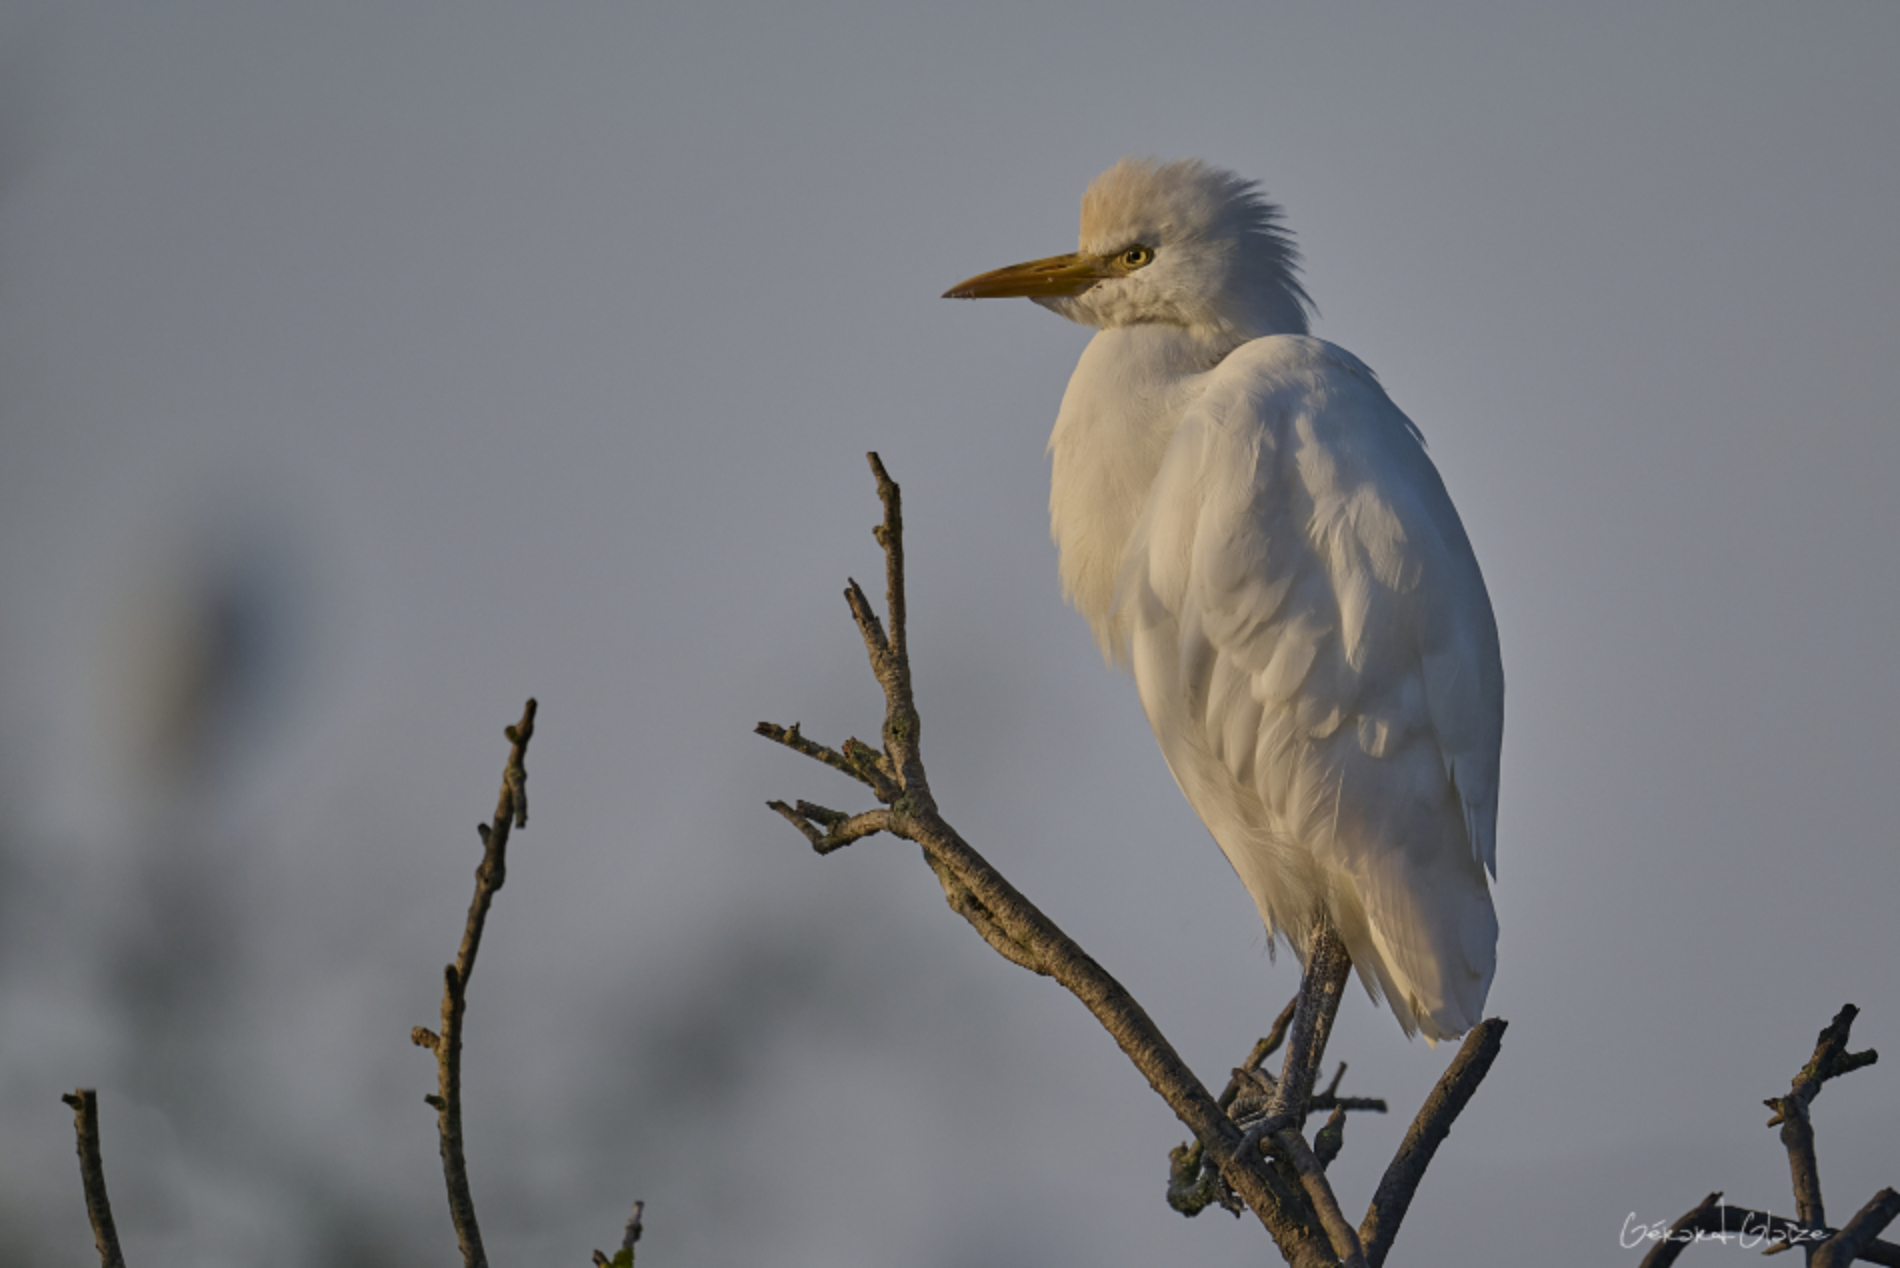
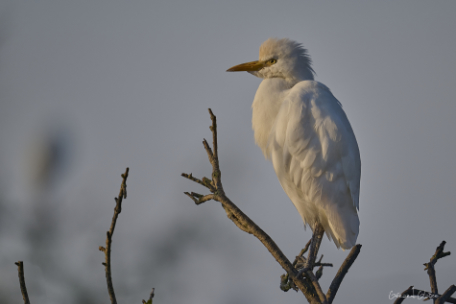
Below you will find a photo presented in three different resolutions, the first in 300 dpi, the second in 150 dpi, and finally the third in 72 dpi.
1st case – if we want an identical print size:
the first photo is very defined, the second less defined but remains of acceptable quality, the third poorly defined, is of poor quality.

2nd case – if we want to maintain good image quality:
in this case we will have to reduce the size of our print as the resolution decreases.


What to provide to the lab to Print a photo
To print a quality photo, it is necessary to provide the photo lab with :
- first of all a file in Tiff format preferably, or Jpg 100% quality.
- then your file must have a resolution of :
- 300 dpi → for high-quality prints (visible up close, up to 50 cm).
- 200 to 250 dpi → for medium-sized prints (visible at an intermediate distance of 50 cm to 1 m).
- 150 to 200 dpi → for large formats (visible from a distance of more than 1.50 m).
- finally the RGB color space (Adobe RGB 98).
Links to some labs where I have had prints made for exhibitions:
- Photo lab ColorPix L’atelier de vos tirages photos Pro
- Photo lab Tirage-Pro